はじめに
この記事は React + TypeScriptな環境を作成し、Flavorを設定してビルド環境( Development, Staging, Production )を切り替えられるような Projectを作成することを目的としています。
React + TypeScript 環境の構築
初期設定
サックっと初期設定してしまいましょう。
$ mkdir react-flavor-example
$ cd react-flavor-example
$ npm init
色々聞かれるので、適当に質問に答えましょう。
package name: (app) react-flavor-example
version: (1.0.0)
description:
entry point: (main.tsx) webpack.config.js
test command:
git repository:
keywords:
author: yukitaka13-1110
license: (ISC)
About to write to /app/package.json:
Dependency の追加
React 系
$ npm i -D react react-dom @types/react @types/react-dom
Webpack 系
$ npm i -D webpack webpack-cli webpack-dev-server html-webpack-plugin
TypeScript 系
$ npm i -D typescript ts-loader
tsconfig.jsonの作成
{"compilerOptions":{"sourceMap":true,"module":"commonjs","esModuleInterop":true,"resolveJsonModule":true,"experimentalDecorators":true,"target":"es5","jsx":"react","lib":["dom","es6"]},"include":["src"],"compileOnSave":true}webpack.config.jsの作成
constHtmlWebpackPlugin=require('html-webpack-plugin');module.exports={mode:'development',entry:'./src/main.tsx',plugins:[newHtmlWebpackPlugin({template:'public/index.html',}),],module:{rules:[{test:/\.tsx?$/,use:'ts-loader',},],},resolve:{extensions:['.ts','.js','tsx',],},};index.htmlの作成
public/以下に index.htmlを作成します。
<htmllang="ja"><body><divid="root"/></body></html>main.tsxの作成
src/以下に main.tsxを作成します。
import*asReactfrom"react";import*asReactDOMfrom"react-dom";constApp:React.FC=()=>{return<div>React Flavor Example</div>};ReactDOM.render(<App/>,document.getElementById("root"));この時点でディレクトリ構造が以下のようになっていればOKです。
$ tree ./ -L 2

./
├── node_modules
├── package-lock.json
├── package.json
├── public
│   └── index.html
├── src
│   └── main.tsx
├── tsconfig.json
└── webpack.config.js
package.jsonの scriptsにコマンドを追加します。
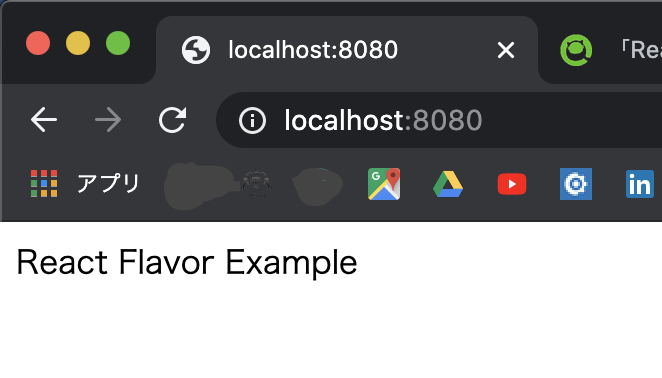
{..."scripts":{"start":"webpack-dev-server","test":"echo \"Error: no test specified\"&& exit 1"},...}npm run startで起動して http://localhost:8080/へアクセスして React Flavor Exampleという文字が表示されることを確認
Flavor の設定
ここからが本題です。
アプリで利用する環境変数を切り替えたいということは良くあることだと思います。node.jsでは process.env.NODE_ENVという環境変数を利用することでアプリで利用する環境変数を切り替えることができるようです。
しかし、process.env.NODE_ENVが stagingを受け取ることができません。型定義を見る感じは受け取れそうですが、どうやらdevelopment | production | test以外は受け付けないようにないっているみたい...。(良く分かっていない)
interfaceProcessEnv{[key:string]:string|undefined;}そもそも型定義も貧弱なのでそこも含めて解決します。
process.envの型を上書きする
process.envの型を上書きするには、プロジェクト内のどこかに global.d.tsファイルを作成し、以下のように書くことで可能です。
/// <reference types="node" />declarenamespaceNodeJS{interfaceProcessEnv{readonlyNODE_ENV:'development'|'production'|'test';readonlyFLAVOR:'development'|'staging'|'production';}}NODE_ENVは触っちゃいけない気がしたので以下のように FLAVORを生やしてみました。
その後、package.jsonで FLAVORを渡す scriptsを追加します。
{
  "scripts": {
    "start": "webpack-dev-server",
+   "dev": "FLAVOR=\"development\" webpack-dev-server",
+   "stg": "FLAVOR=\"staging\" webpack-dev-server",
+   "prod": "FLAVOR=\"production\" webpack-dev-server",
    "test": "echo \"Error: no test specified\" && exit 1"
  },
}渡しただけではアプリ側では受け取れないので、webpack.config.jsで工夫します。
const HtmlWebpackPlugin = require('html-webpack-plugin');
+ const webpack = require('webpack');
+ const flavor = process.env.FLAVOR || 'development';

module.exports = {
  mode: 'development',

  entry: './src/main.tsx',
  plugins: [
    new HtmlWebpackPlugin({
      template: 'public/index.html',
    }),
+   new webpack.DefinePlugin({
+     'process.env.FLAVOR': JSON.stringify(flavor),
+   })
  ],
}main.tsxに console.log()を追加してみましょう。
先程、型定義を上書きしたので補完が効くようになっています。

試しに npm run stgを実行してみましょう。
ちゃんと値を受け取れています。

後は適当に環境毎に変数を定義して process.env.FLAVORを使って分岐するだけです。
例えば以下のような configディレクトリを用意しておけば良いでしょう。
./src/config
├── development
│   └── index.ts
├── index.ts
├── production
│   └── index.ts
└── staging
    └── index.ts
import{EnvVariables}from'../';conststgVariables:EnvVariables={HOGE:'STAGING_HOGE',FUGA:'STAGING_FUGA',};exportdefaultstgVariables;importdevVariablesfrom'./development';importstgVariablesfrom'./staging';importprodVariablesfrom'./production';exporttypeEnvVariables={HOGE:string;FUGA:string;};constenvVariables=():EnvVariables=>{if(process.env.FLAVOR==='production'){returnprodVariables;}if(process.env.FLAVOR==='staging'){returnstgVariables;}returndevVariables;};exportdefaultenvVariables();import*asReactfrom"react";import*asReactDOMfrom"react-dom";importenvVariablesfrom'./config'// Add import;constApp:React.FC=()=>{return(<div><div>React Flavor Example</div><div>{envVariables.HOGE}</div><div>{envVariables.FUGA}</div></div>);};ReactDOM.render(<App/>,document.getElementById("root"));npm run stgを実行して http://localhost:8080/にアクセスします。
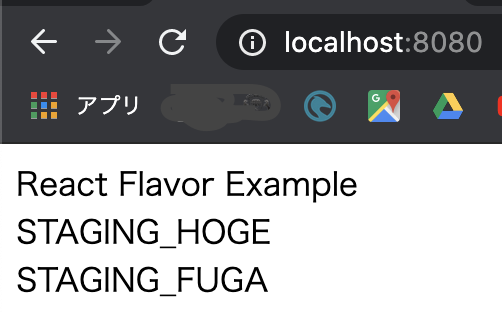
ちゃんと値を表示することができました。
終わりに
今回使用したコードはこちらに載せています。
https://github.com/yukitaka13-1110/react-flavor-example
現在、QUANDO では iOS, Android, Flutter エンジニア募集中です。