顔認識がjsだけでもそれなりに動くのを今更知ったので触ってみた。
顔晒すのに抵抗感がある古い人間なので文中画像少なめです。
成果物
Git: https://github.com/engabesi/face-nicolas
GithubPages: https://engabesi.github.io/face-nicolas/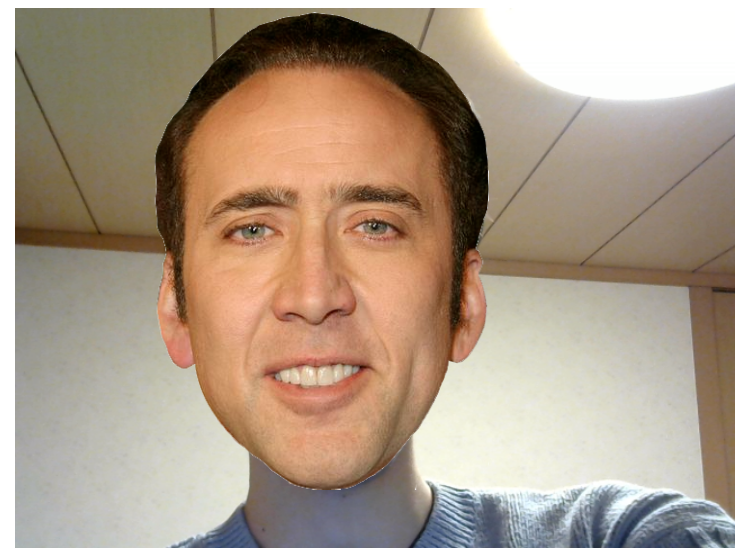
やること
- expressでlocalhostを建てる
- face-api.jsで顔の矩形を取る
- 顔に画像を被せる
- GithubPagesにdeploy
face-api.js
今回顔認識に使うライブラリはこちら
https://github.com/justadudewhohacks/face-api.js
jsだけでそれなりの精度とパフォーマンスを出せます。
複数人も認識可能。
ランドマークや表情、顔認証も出来ます。
demoはこちら
https://justadudewhohacks.github.io/face-api.js/face_and_landmark_detection/
注意点
face-api.jsはWebGLを使用しています。
その為ブラウザの設定でハードウェアアクセラレーションをオフにしている場合上手く動作しない可能性があります。
expressでlocalサーバーを建てる
android等でも気軽にテストするためにまずはlocalhostで動作するようにします。
後にgithubPagesも利用したいため、以下の構成にします。
root/
├─ app.js
└─ docs/
    ├─ index.html
    ├─ images/
    └─ js/
       ├─ index.js
       └─ lib/
          ├─ face-api.min.js
          └─ models/
             ├─ tiny_face_detector_model-shard1
             └─ tiny_face_detector_model-weights_manifest.json
face-api.min.js, 及びmodels内ファイルは以下のrepoから取ってきます
https://github.com/justadudewhohacks/face-api.js/tree/master/dist
https://github.com/justadudewhohacks/face-api.js/tree/master/weights
expressを導入します。
yarn init -y
yarn add express
<!DOCTYPE html><htmllang="ja"><head><metacharset="UTF-8"/><metaname="viewport"content="width=device-width, initial-scale=1.0"/><title>Document</title><script defersrc="./js/lib/face-api.min.js"></script><style>body{margin:0;padding:0;width:100vw;height:100vh;display:flex;justify-content:center;align-items:center;}canvas{position:absolute;}</style></head><body><videoid="video"width="720"height="560"autoplaymuted></video><script defersrc="js/index.js"></script></body></html>constexpress=require("express");constapp=express();constpath=require("path");app.listen(8080,()=>{console.log("Running at Port 8080...");});app.use(express.static(path.join(__dirname,"docs")));app.use((req,res)=>res.sendStatus(404));これでshellにnode app.jsと打ち、http://localhost:8080/にアクセスするとページが開きます(今は真っ白)
webcamera設定
conststartVideo=asyncvideo=>{try{constconstraints={audio:false,video:{}};conststream=awaitnavigator.mediaDevices.getUserMedia(constraints);video.srcObject=stream;}catch(error){console.error(error);}};(async()=>{constvideo=document.querySelector("video");awaitstartVideo(video);})();これでlocalhostを開くとwebcameraの映像が取れているはずです。
顔の矩形を取る
まずmodelを読み込みます。
+constloadModels=async()=>{+awaitPromise.all([+faceapi.nets.tinyFaceDetector.loadFromUri(`/js/lib/models`)+]);+};(async()=>{constvideo=document.querySelector("video");+awaitloadModels();awaitstartVideo(video);})();次に顔を認識して矩形描画処理を追加します。
(async()=>{constvideo=document.querySelector("video");awaitloadModels();awaitstartVideo(video);// --- ADD ---video.addEventListener("play",()=>{// overlay canvas作成constcanvas=faceapi.createCanvasFromMedia(video);document.body.append(canvas);constdisplaySize={width:video.width,height:video.height};faceapi.matchDimensions(canvas,displaySize);consttinyFaceDetectorOption={// default 416inputSize:224,// default 0.5scoreThreshold:0.5};setInterval(async()=>{constresults=awaitfaceapi.detectAllFaces(video,newfaceapi.TinyFaceDetectorOptions(tinyFaceDetectorOption));if(results.length<=0)return;// 検出結果をcanvasのサイズにリサイズconstresizedResults=faceapi.resizeResults(results,displaySize);// canvasの内容をクリアcanvas.getContext("2d").clearRect(0,0,canvas.width,canvas.height);// 矩形描画faceapi.draw.drawDetections(canvas,resizedResults);},100);});// --- ADD ---})();これでscoreが記載された矩形が顔に被さって表示されるようになります。
顔に画像を被せる
検出結果から座標を取ってその位置に画像を被せてみます。
(async()=>{constvideo=document.querySelector("video");+// 画像セットアップ+constimage=newImage();+image.src=`/images/cage_neutral.png`;awaitloadModels();awaitstartVideo(video);video.addEventListener("play",()=>{constcanvas=faceapi.createCanvasFromMedia(video);document.body.append(canvas);constdisplaySize={width:video.width,height:video.height};faceapi.matchDimensions(canvas,displaySize);consttinyFaceDetectorOption={// default 416inputSize:224,// default 0.5scoreThreshold:0.5};setInterval(async()=>{constresults=awaitfaceapi.detectAllFaces(video,newfaceapi.TinyFaceDetectorOptions(tinyFaceDetectorOption));if(results.length<=0)return;constresizedResults=faceapi.resizeResults(results,displaySize);canvas.getContext("2d").clearRect(0,0,canvas.width,canvas.height);-// faceapi.draw.drawDetections(canvas, resizedResults);+resizedResults.forEach(detection=>{+// 矩形のtopはデコあたりなので調整+constmarginVal=0.4;+// 矩形の情報はdetection.boxに格納されている+constwidth=detection.box.width;+constheight=detection.box.height*(1.0+marginVal);+constx=detection.box.x;+consty=detection.box.y-detection.box.height*marginVal;+canvas.getContext("2d").drawImage(image,x,y,width,height);+});},100);});})();これで自分の顔に画像を貼り付けることが出来ました。
他にもmodelやdetection時に.with~~とするだけで表情やランドマーク等の情報を取れます。
詳しくは公式README参照。自分のgitにあげている物にも画像調達に飽きて中途半端になっていますが表情を取るコードも記載してあります。
GithubPages
コードをrepositoryに上げたら
repository > settings > Options > GithubPages > Sourceをmaster branch /docs folderにすればGithubPagesにデプロイすることが出来ます。
だから、ディレクトリ名をdocsにする必要があったんですね。
注意点
上記コードでは画像のpathを直打ちしています。github.ioにデプロイする場合は問題ありませんが、github.io/SUB_REPO/にデプロイした場合、ルートURLがgithub.io扱いとなり、SUB_REPOが飛ばされてしまってpathがおかしくなってしまいます。jekyllの使用をgithubは推奨していますが試して遊ぶだけの場合ちょっと面倒です。
暫定対策としてpath前に直接SUB_REPO名をくっつけてあげると一応動きます。
まとめ
たった数分でブラウザ完結の顔認識ができるなんて素晴らしい世の中になりました。
現状のコードだとスマートフォンで見た場合矩形がものすごく横長になってしまっているのでその辺の対応をしだすとヘビーになるかもしれませんがちょっと遊んで見るぐらいだと非常に有用だと思います。
他にもclmtrackr.jsやpico.js、更にはChromeの機能だけでできるShape Detection API等様々なライブラリがありますので是非触って遊んでみてください。