④の続きです。
一枚板では画面もコードも見づらいので、
React Routerでページ遷移できるようにします。
↓React Router公式ページのquickstartを参考にしました。
https://reacttraining.com/react-router/web/guides/quick-start
ひとまずコマンドでreact-router-domをインストール。
npm install react-router-dom
インストールが完了したらimportします。
App.js
import{BrowserRouterasRouter,Switch,Route,Link}from"react-router-dom";あとは公式ページのBasicにならってページ遷移してみました。
App.js
//色々省略<div><Router><AppBarposition="static"><Toolbar><Linkto="/"><Typographyvariant="h6"style={{color:'white',padding:'5px'}}>マイページ</Typography></Link><Linkto="/form"><Typographyvariant="h6"style={{color:'white',padding:'5px'}}>投稿フォーム</Typography></Link><Linkto="/show"><Typographyvariant="h6"style={{color:'white',padding:'5px'}}>投稿一覧</Typography></Link><Buttonvariant="contained"color="secondary"onClick={this.logOut}style={{color:'white',padding:'10px'}}>ログアウト</Button></Toolbar>
</AppBar>
<Switch><Routeexactpath="/"><Mypage/></Route>
<Routepath="/form"><Form/></Route><Routepath="/show"><Show/></Route>
</Switch>
</Router>
</div>
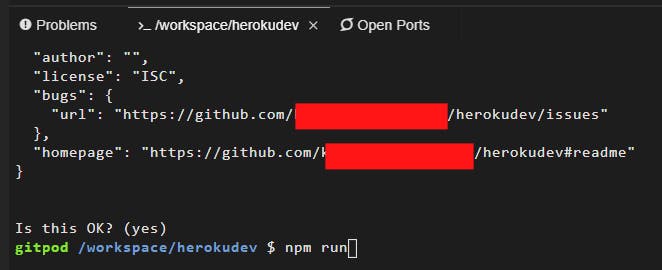
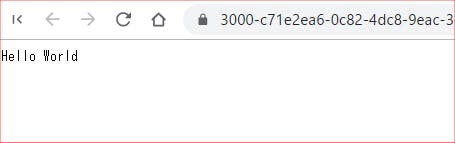
でこんなページができました。
ちゃんとshowのページへ移動できるようになりました。
しかしひとつ問題が発生しました。
本来、認証機能を経てログインし、ログアウトを押せば認証画面に戻るというページにしたかったのですが、ログアウトした後もhttp:localhost:3000/〇〇〇のURLを入力すればダイレクトにページに入れてしまいました。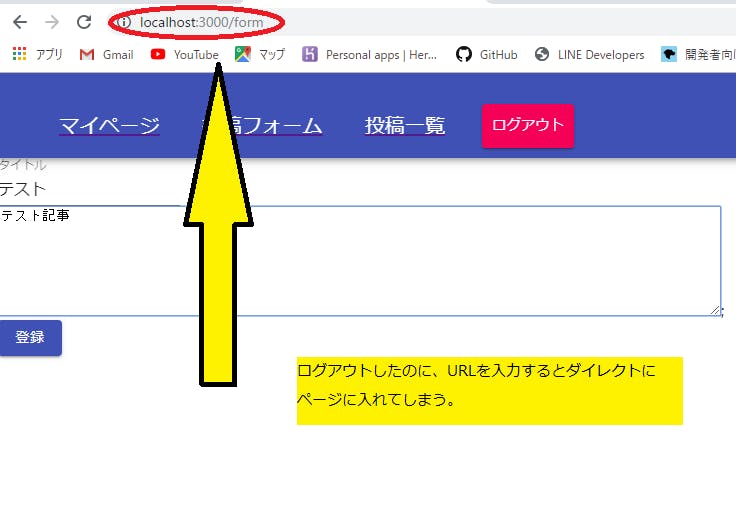
原因を探ったらこれはログイン、ログアウトを自分で作成したstateで管理しようとしたためでした。↓今までのコード
App.js
//これでは正式にログインとログアウトができないcomponentDidMount(){firebase.auth().onAuthStateChanged(user=>{this.setState({isLogin:true,});});}logOut(){this.setState({isLogin:false,});}render(){if(this.state.isLogin){/}これでは正しいログイン、ログアウトができていない様子。isLoginではなくuserを値としてsetし、firebase関数できちんとログアウトすべく、コードを訂正しました。
App.js
classAppextendsReact.Component{constructor(props){super(props);this.state={user:null,}this.logOut=this.logOut.bind(this);}componentDidMount(){firebase.auth().onAuthStateChanged(user=>{this.setState({user:user,});});}logOut(){firebase.auth().signOut();}render(){letsuccessfulUser;if(this.state.user){/}これでURLに直接入ろうとしても、認証画面が表示されます。

とりあえず今回の全体のコードはこんな感じです。
App.js
importReactfrom'react';import'./App.css';importfirebasefrom"firebase/app";import"firebase/auth";import"firebase/firestore";importAppBarfrom'@material-ui/core/AppBar';importButtonfrom'@material-ui/core/Button';importToolbarfrom'@material-ui/core/Toolbar';importTypographyfrom'@material-ui/core/Typography';import{BrowserRouterasRouter,Switch,Route,Link}from"react-router-dom";importFormfrom'./Form';importShowfrom'./Show';importMypagefrom'./Mypage';importAuthenticationfrom'./Authentication';classAppextendsReact.Component{constructor(props){super(props);this.state={name:'',address:'',image:'',user:null,}this.logOut=this.logOut.bind(this);}componentDidMount(){firebase.auth().onAuthStateChanged(user=>{this.setState({user:user,});});}logOut(){firebase.auth().signOut();}render(){letsuccessfulUser;if(this.state.user){successfulUser=(<div><Router><AppBarposition="static"><Toolbar><Linkto="/"><Typographyvariant="h6"style={{color:'white',padding:'5px'}}>マイページ</Typography></Link><Linkto="/form"><Typographyvariant="h6"style={{color:'white',padding:'5px'}}>投稿フォーム</Typography></Link><Linkto="/show"><Typographyvariant="h6"style={{color:'white',padding:'5px'}}>投稿一覧</Typography></Link><Buttonvariant="contained"color="secondary"onClick={this.logOut}style={{color:'white',padding:'10px'}}>ログアウト</Button></Toolbar>
</AppBar>
<Switch><Routeexactpath="/"><Mypage/></Route>
<Routepath="/form"><Form/></Route><Routepath="/show"><Show/></Route>
</Switch>
</Router>
</div>
);}else{successfulUser=(<Authentication/>);}return(<div>{successfulUser}</div>     );}}exportdefaultApp;
Authetication.js
importReactfrom'react';importfirebasefrom"firebase/app";importStyledFirebaseAuthfrom'react-firebaseui/StyledFirebaseAuth';constuiConfig={signInFlow:'popup',signInSuccessUrl:"/",signInOptions:[firebase.auth.GoogleAuthProvider.PROVIDER_ID,firebase.auth.EmailAuthProvider.PROVIDER_ID,],}constAuthentication=(props)=>{return(<div><p>Pleasesign-in:</p>
<StyledFirebaseAuthuiConfig={uiConfig}firebaseAuth={firebase.auth()}/>
</div>
);}exportdefaultAuthentication;
Show.js
importReactfrom'react';import'./App.css';import"firebase/auth";import"firebase/firestore";constShow=(props)=>{return(<h1>Hello</h1>
);}exportdefaultShow;
MypageとFormとShowの中身はなんでも良しです。
また誤りがあれば、都度訂正していきます。