Auth0のManagement APIの利用時の話です。
前回の記事だとアクセストークンを直指定だったので、時間が立つとアクセストークンが切れてしまいます。
API経由で動的に生成する方法を調べたのでメモです。
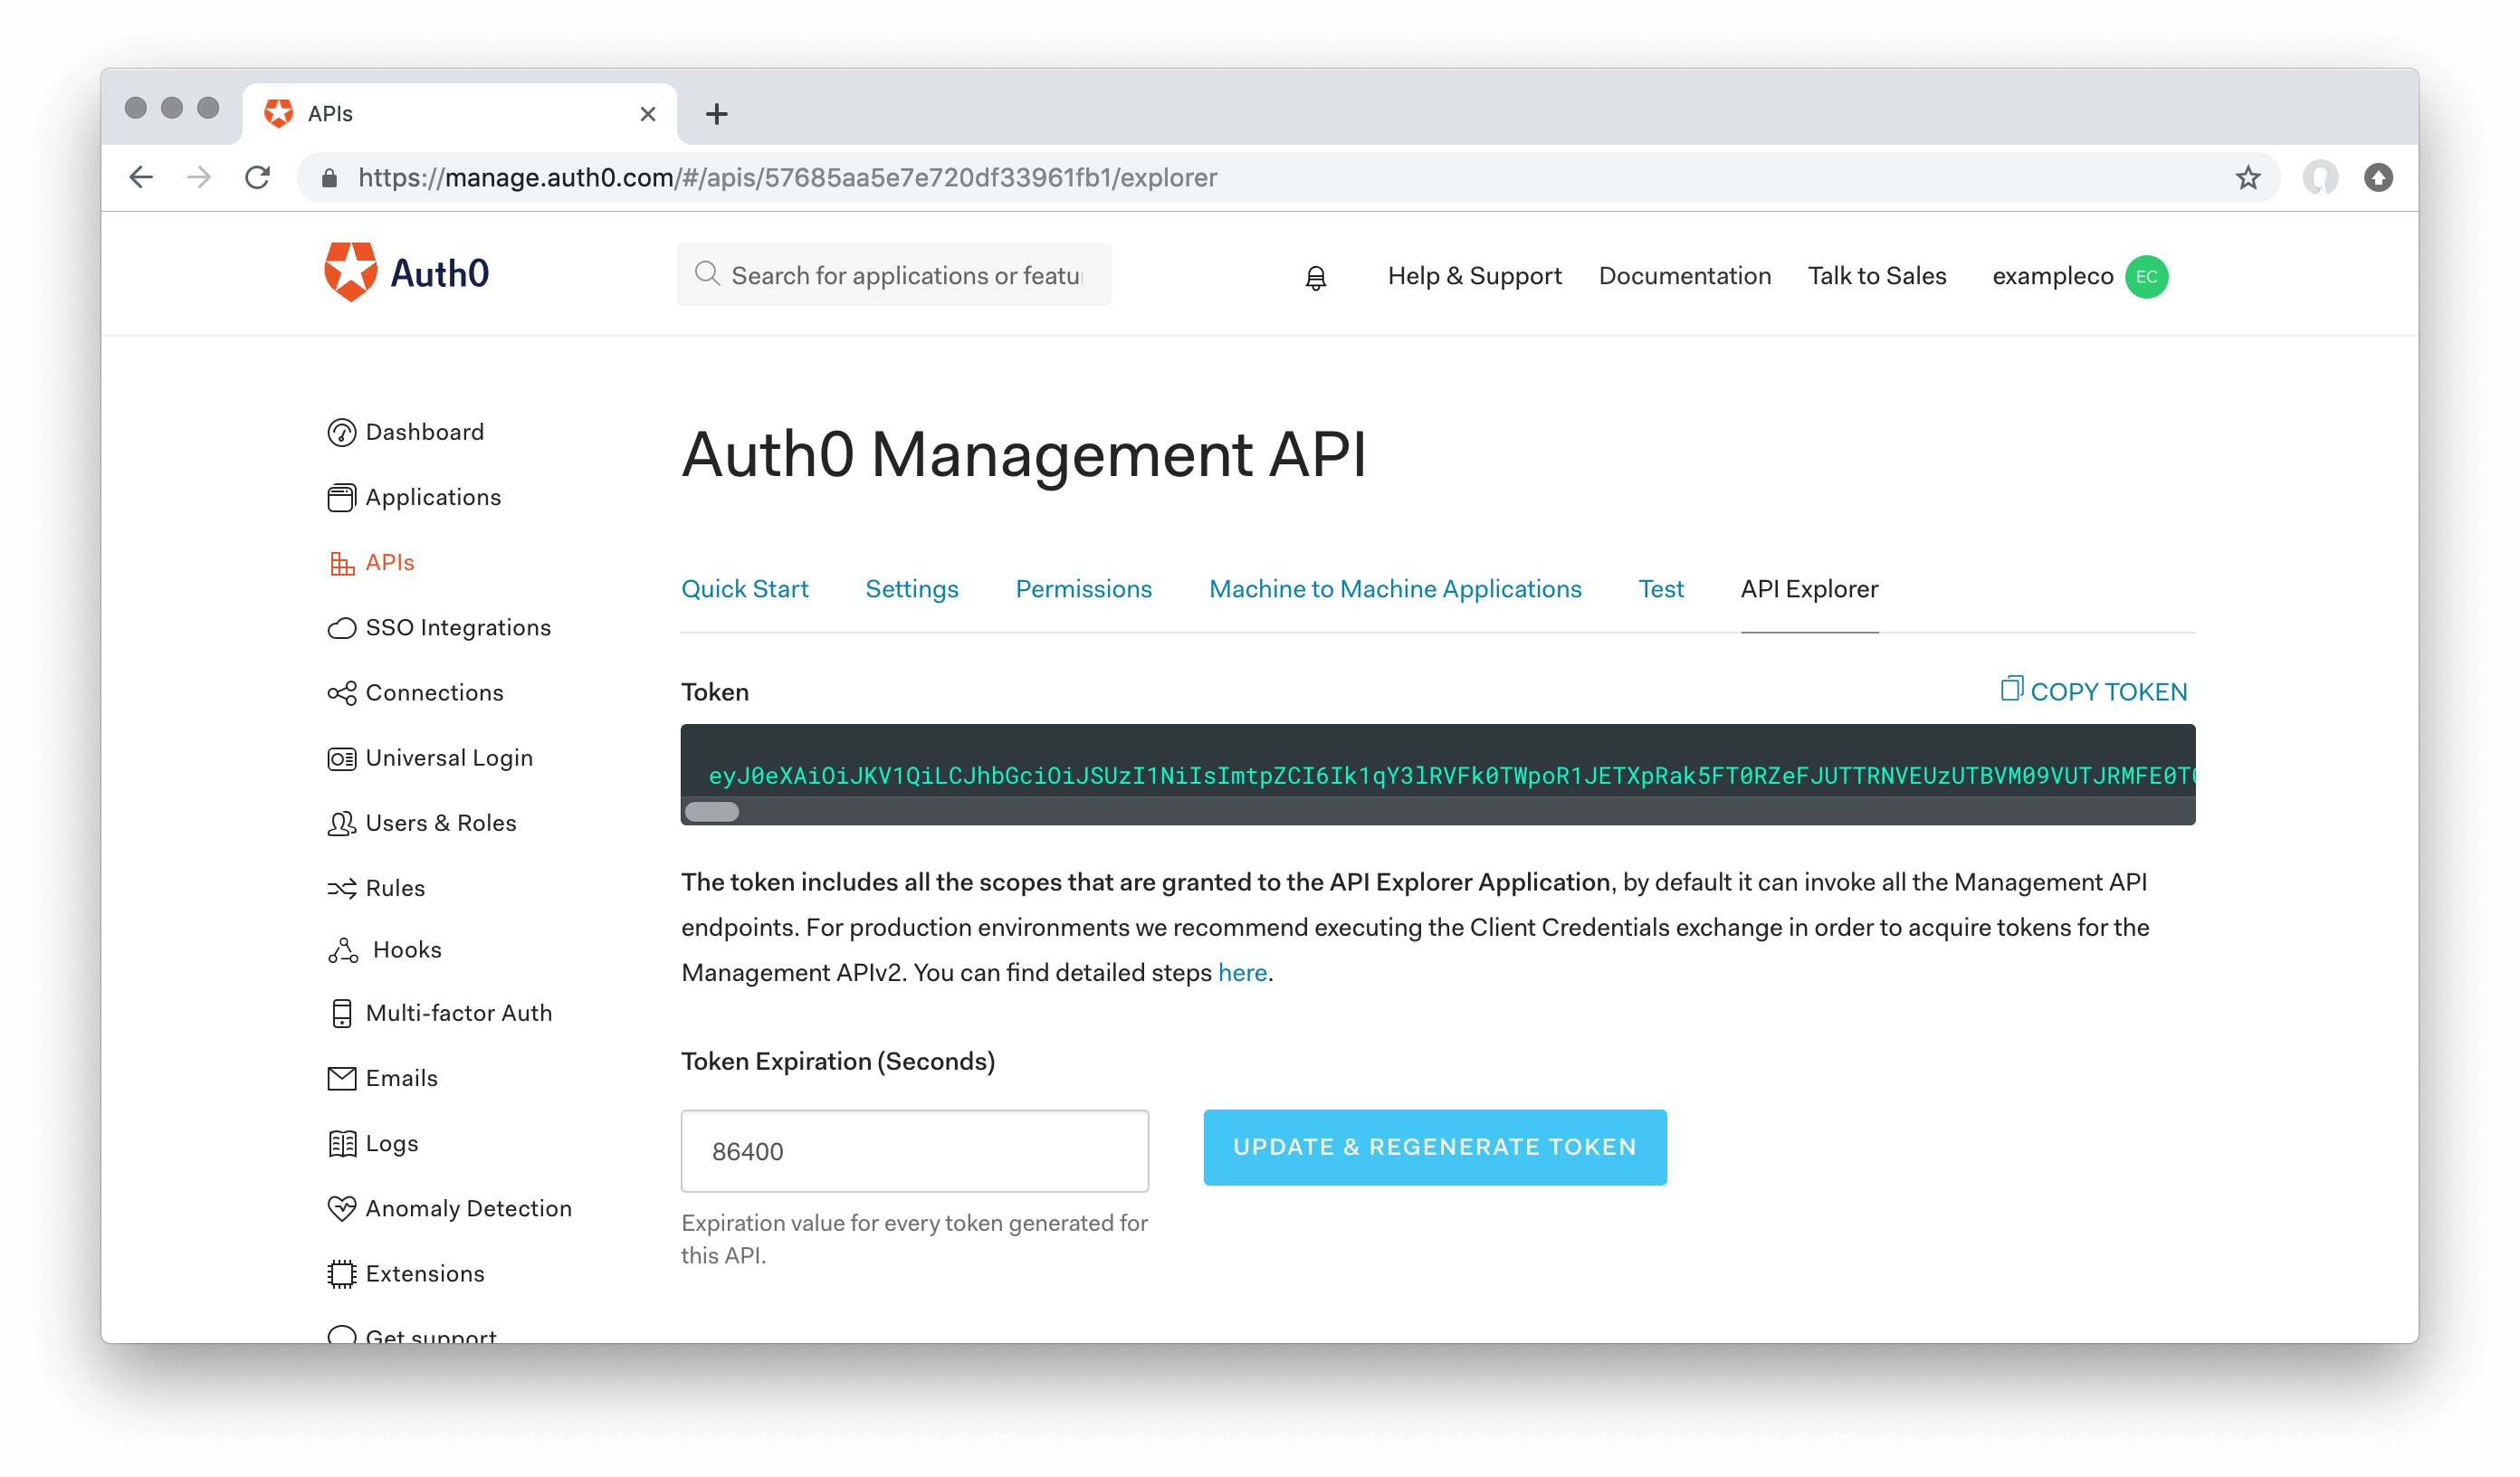
アクセストークンのテスト
APIトークンを試す際には、公式のGet Access Tokens for Testing
にあるように、管理画面からAPIトークンを取得して直接指定すると良いです。
Auth0でログインユーザーのロール(Roles)を元にハンドリングするRulesを書いてみたの記事で書いてたやり方です。
アクセストークンを動的に生成する - プロダクション
公式のGet Access Tokens for Productionに載っているAPI(https://YOUR_DOMAIN/oauth/token)にリクエストしてAPIトークンを生成して利用できます。
公式サンプル
varoptions={method:'POST',url:'https://YOUR_DOMAIN/oauth/token',headers:{'content-type':'application/x-www-form-urlencoded'},form:{grant_type:'client_credentials',client_id:'YOUR_CLIENT_ID',client_secret:'YOUR_CLIENT_SECRET',audience:'https://YOUR_DOMAIN/api/v2/'}};request(options,function(error,response,body){if(error)thrownewError(error);console.log(body);});これをRules内(Node.js)で書いていきます。
Rulesに適用する
Auth0でログインユーザーのロール(Roles)を元にハンドリングするRulesを書いてみたのスニペットと合わせるとこんな感じです。
util.promisifyでrequestをpromise化して、async/awaitで利用する形にしました。
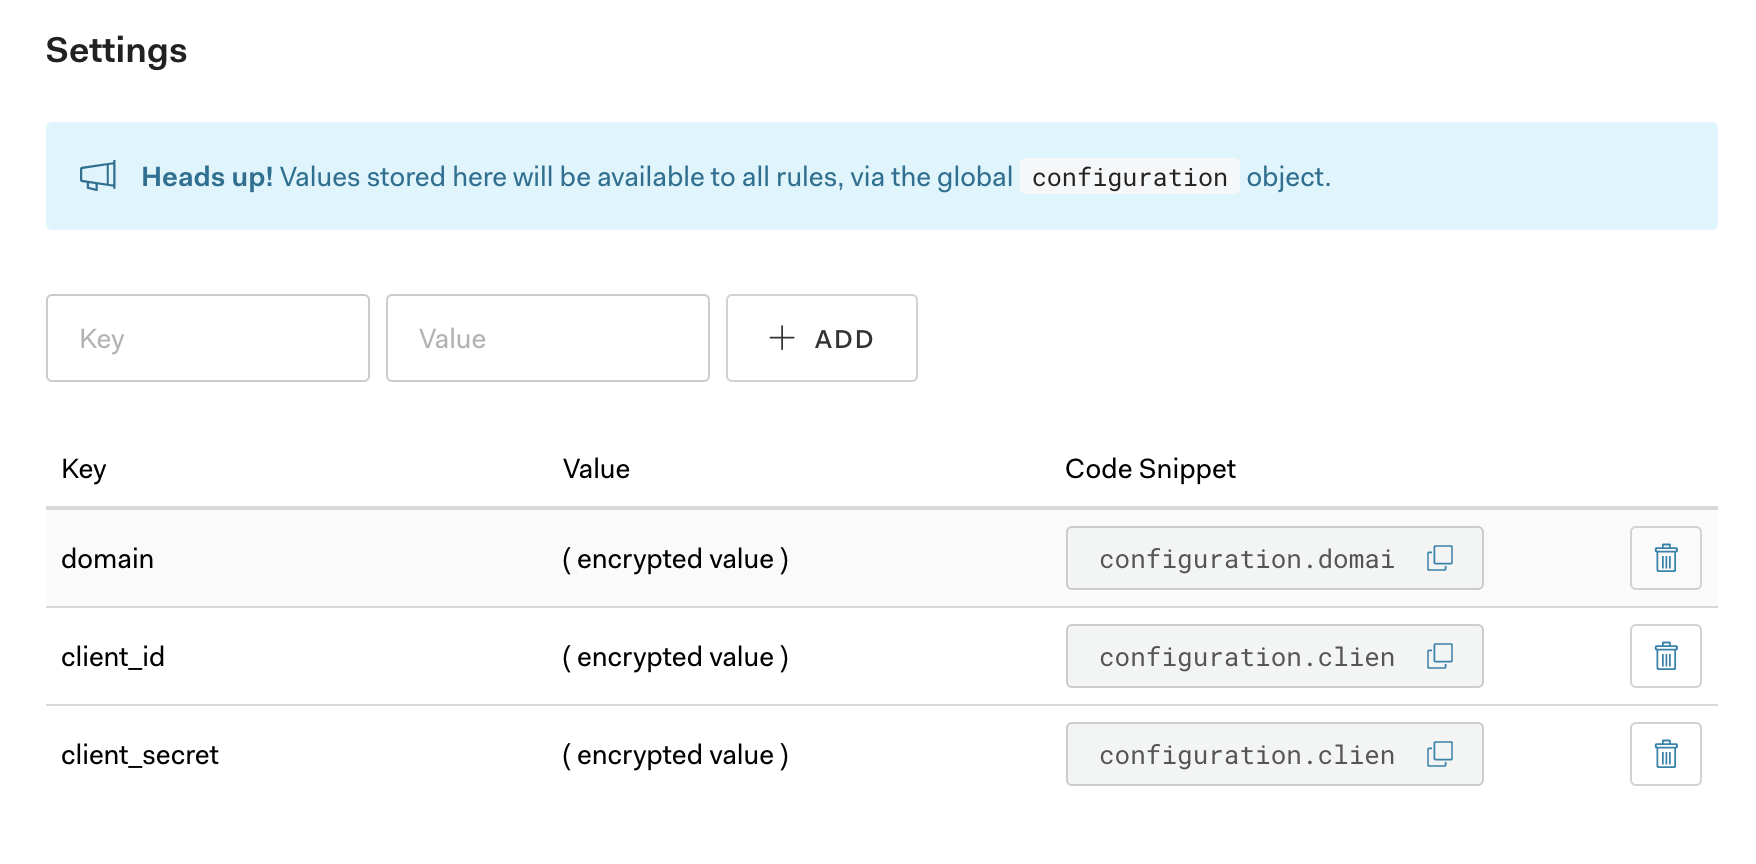
asyncfunction(user,context,callback){constutil=require('util');constrequestPromise=util.promisify(request);console.log(user);//1. メール確認if(!user.email||!user.email_verified){returncallback(newUnauthorizedError('Access denied.'));}//2-1. トークン生成consttokenApiOptions={method:'POST',url:`https://${configuration.domain}/oauth/token`,headers:{'content-type':'application/x-www-form-urlencoded'},form:{grant_type:'client_credentials',client_id:configuration.client_id,client_secret:configuration.client_secret,audience:`https://${configuration.domain}/api/v2/`}};consttokenApiRes=awaitrequestPromise(tokenApiOptions);consttoken=JSON.parse(tokenApiRes.body).access_token;//API経由で取得したトークン//2-2. ユーザーが所属するロールを取得constoptions={url:`https://${configuration.domain}/api/v2/users/${user.user_id}/roles`,method:'GET',headers:{'Authorization':`Bearer ${token}`},json:true,};constroleApiRes=awaitrequestPromise(options);//2-3. ロール判定constwhiteList=['role1','role2'];//許可するロール名constuserRoles=roleApiRes.body.map(item=>item.name);constuserHasAccess=userRoles.some(value=>whiteList.includes(value));if(!userHasAccess){returncallback(newUnauthorizedError('Access denied.'));}callback(null,user,context);}Settingsでconfigrationの値を設定すればOKです。
エラーなど
ClientIDとSecretについて
ちなみに、client_idとclient_secretはテストでトークン作成した際のMACHINE TO MACHINEのものを利用したらうまく行きました。

通常のログインアプリケーションのclient idを利用すると以下のようなエラーが出てうまくいかなかったです。
"error":"unauthorized_client","error_description":"Grant type 'client_credentials' not allowed for the client."
Generate token in WebApi. Error: “Grant type ‘client_credentials’ not allowed for the client.”
function外だとUnexpected token const
function外には基本的に記述はしない方が良さそうです。
constutil=require('util');constrequestPromise=util.promisify(request);asyncfunction(user,context,callback){・・・省略・・・}{
"code": 400,
"message": "Compilation failed: Unexpected token const",
"error": "Unexpected token const",
・
・
・
省略
これだとエラーはでなかったです。
asyncfunction(user,context,callback){constutil=require('util');constrequestPromise=util.promisify(request);・・・省略・・・}